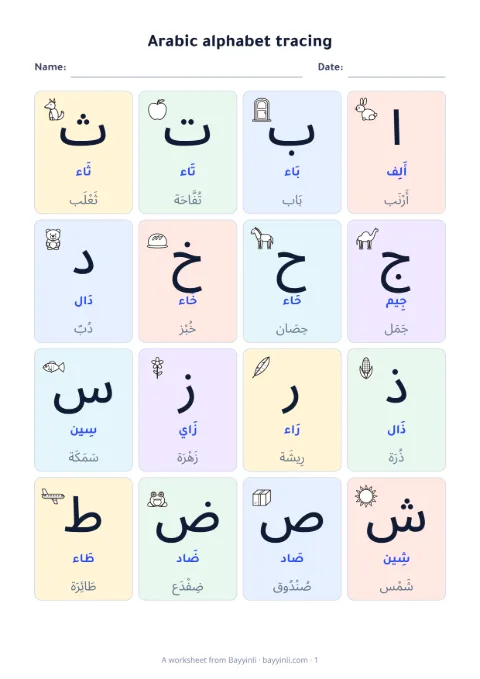
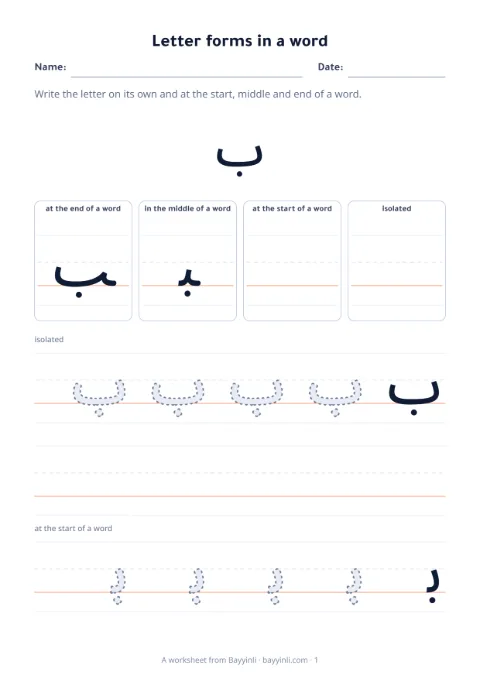
Writing Arabic takes practice: forming letters, joining them and placing them on the line. These steps help you teach children and adults, from tracing a model to writing independently. Set aside a short, regular time to practise.
1. Posture and tools
Sit upright and tilt the paper slightly. Use a soft pencil and lined paper. On a touch screen, a finger or stylus is enough.
2. Direction and the baseline
Arabic is written from right to left. Letter bodies sit on the baseline, some letters drop below it (ج ح خ ع غ م at the end of a word, and ر ز و), and some rise above it (ا ل ك ط ظ). Arabic handwriting sheets therefore use three lines: a top line, a dashed middle line and a coloured baseline.
3. From tracing to writing alone
- Trace: the learner writes over a dotted letter until the movement feels natural.
- Copy: they look at a model and write it next to it.
- Write from memory: they hear the name of a letter or word and write it without a model.
4. Teach letters in shape groups
Start with the easiest shapes: ا ب ت ث, then ن ي, then د ذ ر ز و, then س ش ص ض, then ج ح خ ع غ.
5. Move to words early
Once the learner knows the letters needed, try short words such as بَاب (door) and بَيْت (house). Choose words whose meanings they know.
6. Correct one thing at a time
Focus each correction on one point: the direction of the stroke, its position on the line, or where the dots go. In a live lesson, ask the student to write on the shared Arabic whiteboard and correct in another colour for everyone to see.
Start with Arabic handwriting practice online, or print Arabic tracing worksheets.
Worked example
- عisolated
- عat the start of a word
- عin the middle of a word
- عat the end of a word